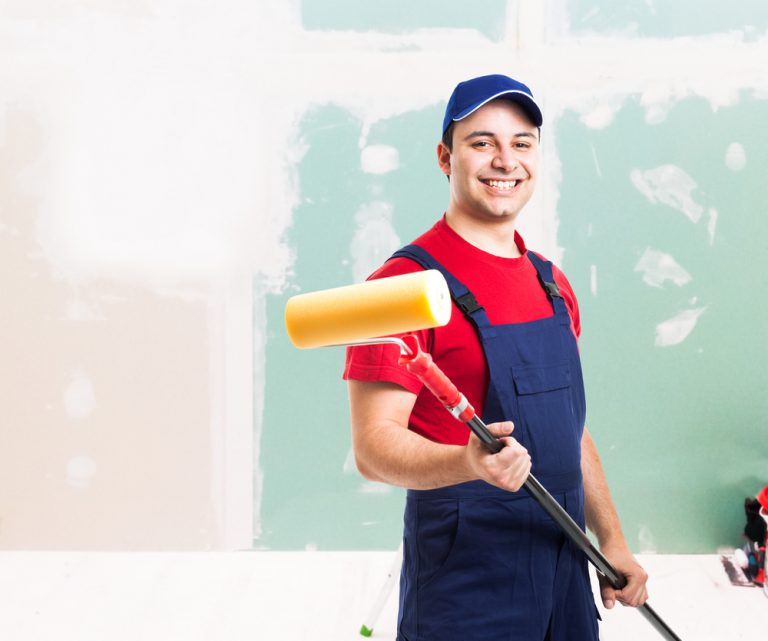
Interior Painting- Essential Things You Should Know
Painting is one of the best ways to add color to your property. The exterior and interior painting will enhance the overall look of your house. If you are planning to paint the interior of your house, then you need to get in touch with an experienced painting company.
Do the Preparation
Early preparation is always good for every task you are going to perform, the same is the case with painting. Preparation work will consume a large amount of time when you are painting the interior of your house. You should tape off all the areas for sharp lines, move your furniture and furnishings, do the repairs, fix all the imperfections, remove the things like switch plates and doorknobs, and protect your floors from the splash of paints.
Sheen is Essential
The sheen and finish of your paint are having a major impact on the walls. You can select satin, gloss, and eggshell sheen that you can consider for your house. If you are going to paint high-traffic areas, then you need to choose gloss or satin as they are easy to clean. But remember that the wall imperfection will make it more prominent. In addition to this, matte-like finish such as flat will not be cleaned properly but they hide imperfections better.
Try Some Samples
It is not easy to guess how good or bad your paint looks on the wall? For a few amounts of money, you can purchase sample paints that you can paint on a small area to test out either paint shade looks good or not. This is one of the important things to know before painting a room. With this practice, you will know how the paint color will look on the surface. Keeping all this in mind, you should spend a few dollars instead of spending a huge amount on buying the gallons of paint to find out that color is not looking good on the wall.
Primer is Essential
Prime is one of the important and basic requirements to get the best painting done for your house. If you are planning to add a new color to your walls, then you need to prime your walls well. You can buy a primer and paint as all in one mixture or buy it separately. Primer will add a layer that will allow the paint to adhere better to give a perfect finish.
Steps to Prepare a Room for Painting
Interior painting is a great do-it-yourself project that can freshen up a room in no time, but there are risks to going it alone. Amateur paint jobs can be easy to spot because, unlike professional jobs, they leave tell-tale signs of paint spatter, mottled color or missed spots behind. Here are seven steps you should follow before you dip your roller to help you paint like a pro.
Remove Furniture
Professionals don’t stumble over coffee tables and stretch to paint behind the sofa, and neither should you. Remove furniture from the room before you paint to make the job easier and avoid ruining wood and upholstery with spilled or spattered paint. To ensure that your furnishings remain in good enough condition to be brought back into your newly painted room at the end of the project, refrain from just shoving everything into the hallway where it could be damaged or cause accidents. Consider renting a temporary storage container or a storage unit while you work. If there’s an item that just won’t fit through the doorway or is too heavy to move, pull it to the center of the room, away from the walls to be painted, and cover it with plastic to protect it
Protect Flooring
Assuming you want to keep your carpet or hardwood floor in place after you paint the room, protect it before you get to work. A few sheets of newsprint under your roller tray just aren’t sufficient. Use professional-style drop cloths throughout the room instead. Plastic sheeting is cheaper, but it’s easily punctured and can shift under your feet while you work, exposing areas of flooring. A heavy canvas drop cloth or a professional grade butyl-backed cloth protect against spills and also help keep paint from being tracked through the rest of your house if it accidentally gets on the soles of your shoes while you work. (Lots of do-it-yourselfers prefer to paint barefoot so they know when they step in paint.) Butyl-backed cloths have the added bonus of keeping spilled paint from soaking through to the flooring below.
Remove Wall Hangings
Maybe you think you’ll save time by leaving your paintings on the walls and simply painting around them. That’s great, unless a painting shifts a little bit one day in front of company, exposing your cut corner. Cutting in around paintings and clocks is actually more time consuming than removing them, and it risks damaging your décor as well. Plus, you might want to change your wall art before you paint the room again. So, it’s always better to take everything off the wall and paint the entire surface. Again, protect your things so you have something to bring back into your finished room. Use bubble wrap and storage bins to make sure delicate pieces don’t break, and be sure to store them well out of the way. If there is any chance that you might want to reconfigure your pictures and clocks when you re-hang them, remove nails and picture hangers and fill in the holes with spackle before you paint. Be sure to let the spackle dry before you cover it.
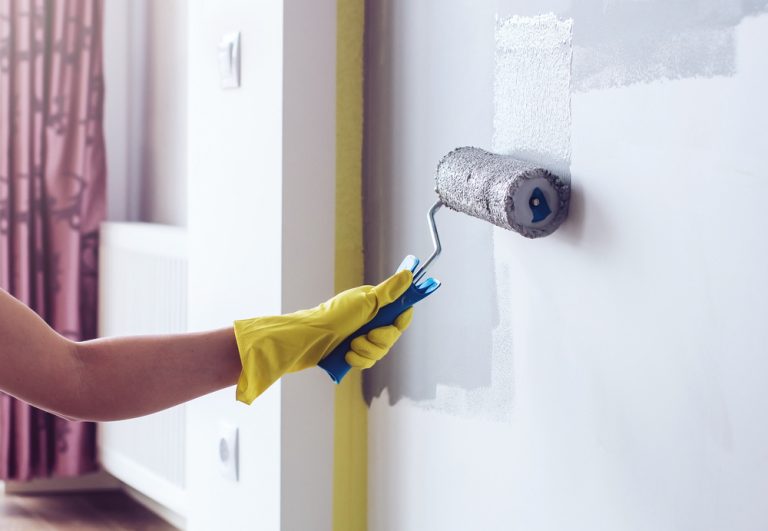
Clean the Walls to Be Painted Learn more about cleaning before painting
Why should you clean something you’re just going to paint anyway? Because clean, uniform surfaces will assure you of a smooth, professional-looking result. Dark smudges can show through a coat of paint, and oil or other substances on the wall can change the consistency of the paint being applied. Clean all walls to be painted with a solution of water and mild detergent. For tough stains or smudges, like kitchen grease or soot stains, professionals rely on trisodium phosphate. Mixed with bleach, trisodium phosphate can also remove mildew and mildew stains before you paint. No matter what kind of cleaning solution you use, be sure to rinse the walls thoroughly when you’re finished and leave them plenty of time to dry before you get to work. House painting professionals might even use fans to speed the drying process.

BEST WAYS TO TOUCH UP PAINT
Maintaining the rich color and smooth finish of your home’s interior doesn’t mean you have to repaint the whole room to fix the dents, dings, scratches and marks that can, over time, mar your walls’ surfaces.
By using the proper technique and the right color, you can touch up select spots of your wall paint, and keep your walls looking flawless and freshly painted.
Clean the Surface
Before you make repairs, clean the area with a sponge, mild detergent and water. Dirt, grime and dust can build up on the wall’s surface, which can affect paint adhesion when you begin touching it up. Lightly wipe the work area with the soapy sponge and then dry it with a clean towel before proceeding.
Step 2: Make Repairs
Dents, small holes (nail holes, etc.) and deeper scratches can be filled in with spackling compound. Use a piece of fine-grit sandpaper and lightly smooth the surface around the area to be repaired. This will help to remove any fragments or raised portions of the wall. Next, open a container of premixed spackling compound and scoop up a small amount of it with the edge of a putty knife. Use just enough to fill in the hole or crack. Put the compound-covered blade of the putty knife at a 45-degree angle to the wall and spread the compound over the hole or crack in a smooth, feathering motion. Do this until the hole is completely filled in. Scrape away excess compound from the wall with your putty knife with the blade at a 90-degree angle to the wall. Wipe any remaining excess with a damp cloth before it sets. It will take a few hours for the patch to properly set. If the patch is slightly raised from the rest of the surface, lightly sand it again with fine-grit sandpaper.
Step 3: Prime
You must now prime the repaired areas for optimal paint adhesion and color blending. Without primer, the touched-up spot will stand out from the rest of the painted surface. Choose a high-quality, interior latex primer, such as True Value EasyCare® Ultra Premium Interior Primer/Sealer. Use a small or medium-sized paintbrush (depending on the size of the repaired area) to apply a layer of primer over the spot. Try to keep the size of the primed area confined to the dimensions of the repair for best results. Let the primer dry completely, as recommended by the manufacturer’s directions.
Best Tips on Choosing the Right Interior Wall Paint Colours
Wondering how you are going to zoom in on the best interior wall paint colour for your home? Lucky for you, you are in the right place. Interior wall painting can come across as an essential task to many in designing a house. Whether you are painting your house for the first time or wanting to re-paint your house to match the colour trends in the year of 2019, it is important to select the right paint colours for your house.
to help you to find the top interior wall paint colours for home through your house painting process. Previously, we had discussed epic wall decorating ideas to refresh your home. You can pick up a few tips from that as well. Coming back to where we left off, we are here to guide you on choosing the best interior wall paint colours for your home. From analysing the colour options available for preparing a layout for your ideal design, you need to plan it all, which is why it becomes a hard task. Let us see how we can ease the process and make wall painting fun. So, how to choose the right paint colours for your house?
Pick your furniture and decors before picking interior wall paint colours
It is common that you will want to get done with the big things first, but it is important to analyse which method would be easy and yield the best results.
Start with some research on best interior wall paints and designs
What are the trending wall paints? What are the colour combinations that will suit my interiors? These are some of the basic questions that you need to ask yourself.
Keep the wall paint colour neutral and balanced
Understand where you want the focus in a room to be. If you want the maximum focus to be on the walls, then you can go for bold, vibrant colours.
Things Your House Painter Wishes You Knew
Painting your house is one of those maintenance projects that most homeowners undertake at some point, whether it’s the outside or the inside. With the exception of hardened DIY-types (you know who you are!), just about all homeowners will hire painters at some point—whether to prepare their home for moving in, or for a sale, or perhaps to kick off a remodel with a new color scheme.
But homeowners tend to get nervous around painters. What if they spatter the new carpeting or shatter the china cabinet window? What if the colors you’ve painstakingly selected don’t work out?
Painting your house is art—let the pros do it
Think of painting as not just a skill, but also an art: You wouldn’t hover behind Michelangelo as he completed the Sistine Chapel, fretting the whole time, would you?
Yes, it’s true that your bathroom wall will never be one of the world’s premiere masterpieces, no matter how skilled your painter, but that doesn’t make back-seat painters any less annoying.
Prep can take a long time
According to Benson, at least 30% of a good-quality paint job will be prep time. “That’s where less-qualified painters lower their bids. That’s where problems come with paint getting on things it shouldn’t be,” he says